Pizza dough and focaccia dough are closer relatives than most people realize. They share the same core ingredients - flour, water, salt, yeast - and the differences between them come down to technique and proportion, not anything fundamental. Which means a ball of pizza dough sitting in your fridge right now is about 3 hours away from either a slab of genuinely great focaccia bread or one of the best thick-crust pizzas you've ever made at home.
That's what makes this such a useful technique to have in your back pocket. The same method - press into an oiled pan, give it a long second rise, dimple, top, bake - takes you in two different directions depending on what you put on top. Go with olive oil, rosemary, and flaky salt and you have focaccia. Go with sauce, cheese, and pepperoni and you have a focaccia-style pizza with an airy, oil-crisped crust that's better than most pan pizza recipes. The base process is identical.
I'm going to walk through the full method here, then cover both paths: classic focaccia bread toppings and pizza-style builds. Whether you're working with leftover dough, intentionally mixing a batch, using sourdough, or starting with a store-bought ball, it's all covered.
Why Pizza Dough Works as Focaccia (and Where It Differs)
Before getting into the method, it helps to understand what's actually happening when you convert pizza dough into focaccia. The two doughs share the same building blocks, but traditional focaccia recipes diverge in a few important ways.
Hydration. This is the biggest difference. A dedicated focaccia dough typically runs between 75% and 85% hydration - sometimes even higher. That extreme wetness, combined with generous olive oil, creates the signature open, spongy crumb. Most pizza doughs sit lower. A typical Neapolitan-style dough lands around 60-65% hydration. New York-style usually falls in the 58-65% range. If you've been working with high-hydration pizza dough in the 70%+ range, you're already very close to focaccia territory.
Fat content. Many pizza dough recipes contain little to no oil in the dough itself. Focaccia dough almost always includes olive oil directly in the mix, usually around 3-5% of flour weight. This tenderizes the crumb and extends shelf life. But here's the thing - the generous olive oil you'll add to the pan and drizzle on top more than compensates for what's missing from the dough itself.
Handling and shaping. Pizza dough usually gets stretched thin, baked fast, and eaten immediately (unless you are intentionally making a thicker pan style). Focaccia gets pressed into a pan, given a long second rise, dimpled, and baked at a more moderate pace. This difference in handling is where the real transformation happens. You're taking a dough designed for one geometry and giving it a completely different one.
The practical takeaway: almost any pizza dough can become good focaccia. Some will be better than others, but none will fail outright. The process compensates for most of the differences.
Which Pizza Doughs Work Best
Not all pizza doughs produce identical focaccia results, so here's what to expect depending on what you're starting with.
Neapolitan-style dough (60-65% hydration, no oil) produces a slightly denser, chewier focaccia with a tight but pleasant crumb. It won't have the wide-open bubble structure of traditional focaccia, but the flavor is excellent, especially if it's been cold fermented. The lower hydration means a sturdier bread that's ideal for sandwiches.
New York-style dough (58-65% hydration, usually contains oil and sugar) actually works surprisingly well. The small amount of oil and sugar already in the recipe contribute to a softer crumb and better browning. You'll get a focaccia that's slightly richer and more golden than what Neapolitan dough produces.
High-hydration dough (70%+ hydration) gives you the closest result to a traditional focaccia. If you've been experimenting with wetter pizza doughs, this is where those skills pay off. The higher water content translates directly into a more open, airy crumb with bigger bubbles.
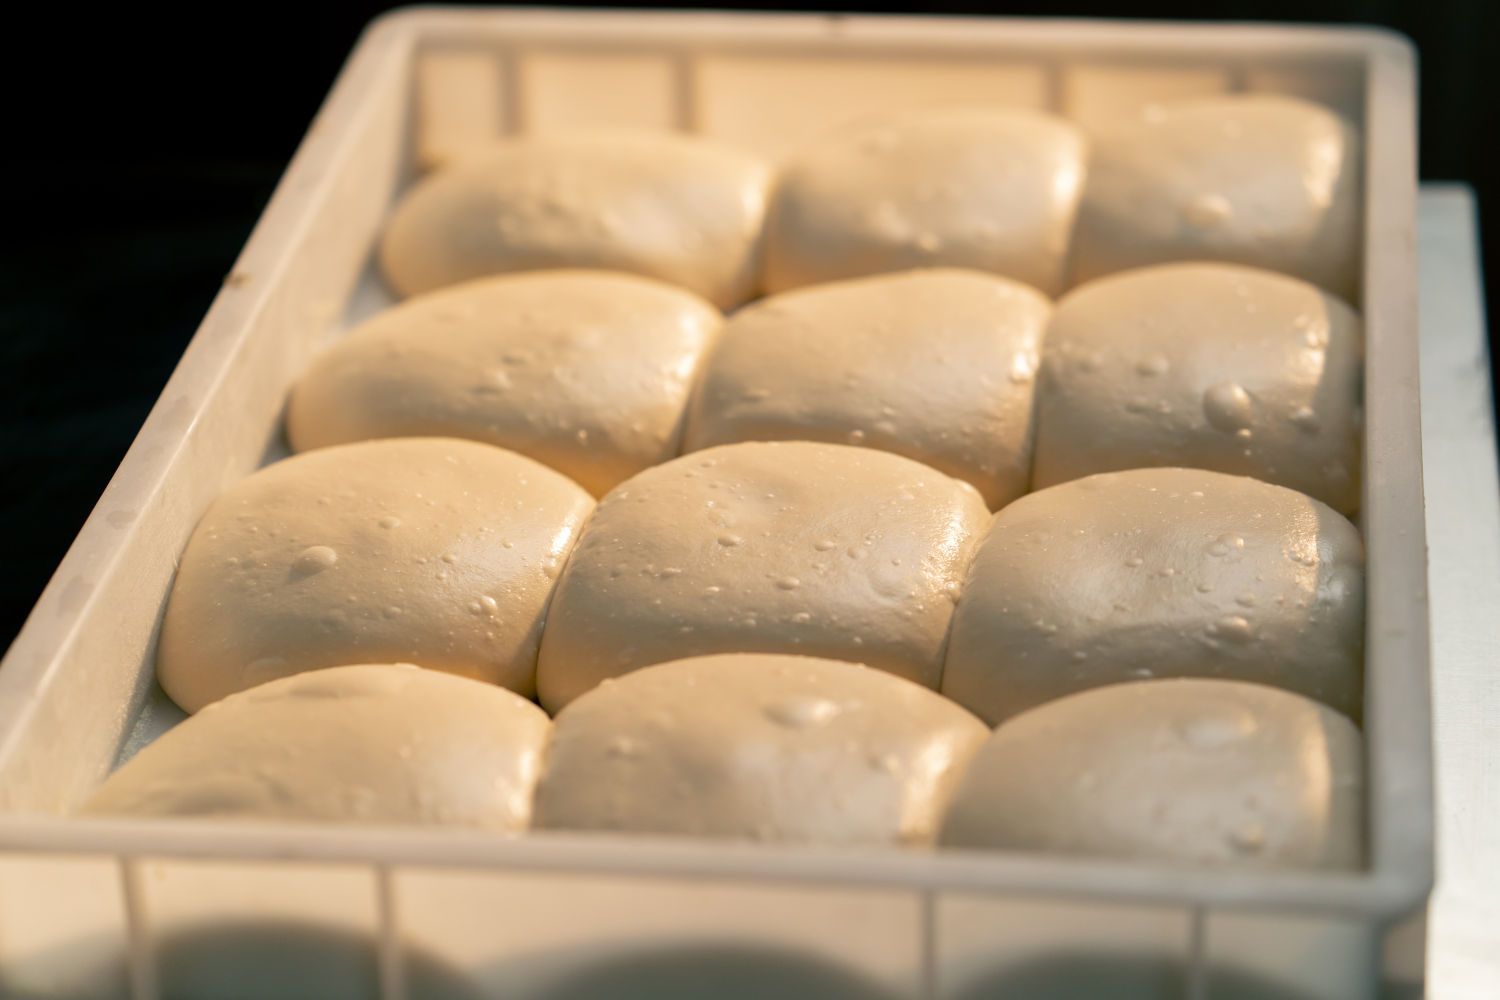
Cold fermented dough of any style tends to produce better focaccia than same-day dough. The extended fermentation develops more complex flavors - slightly tangy, more wheat-forward - and the gluten network has had time to relax, making it easier to press into the pan without excessive snapback.
Store-bought pizza dough from the grocery store or a local pizzeria works fine. It won't win any awards, but it makes a perfectly respectable focaccia. The main issue is that store-bought dough is often under-fermented and can be tight and elastic. Give it extra time on the second rise - potentially an extra hour beyond what homemade dough needs.
Sourdough pizza dough deserves special mention. A sourdough base creates what I'd call the best version of this entire concept. The natural leavening produces a more complex, slightly tangy crumb with better keeping quality. The fermentation flavors pair beautifully with olive oil and sea salt. If you have leftover sourdough pizza dough, making focaccia with it should be your default move.
If you want to dial in specific hydration levels or experiment with different flour ratios for this purpose, the PizzaLogic dough calculator makes it easy to scale and adjust recipes.
The Full Method: Pizza Dough Focaccia (and Focaccia Pizza)
This process works for both focaccia bread and focaccia-style pizza - the method is identical until the topping stage. The timing and pan size below are calibrated for a single dough ball in the 350g to 500g range (roughly 12oz to 1lb) in a 9x13-inch pan. If you're working with a larger or smaller pan, adjust the dough quantity accordingly - the PizzaLogic dough calculator can help you scale up or down.
Equipment
You need a baking pan with sides at least 1.5 inches high. A 9x13-inch metal baking pan is the standard choice for good reason - it gives a single dough ball enough room to spread without getting too thin. A quarter sheet pan works well for larger batches. A cast iron skillet is another great option that produces an especially crispy bottom crust.
Metal pans are strongly preferred over glass. Metal conducts heat more efficiently and gives you better crust development on the bottom, which is critical since focaccia needs a crispy base to balance its soft interior. Anodized aluminum pans (like Lloyd Pans, which are popular in the pizza community for good reason) or well-seasoned cast iron will produce the best bottom crust.
Step 1: Oil the Pan (Generously)
Pour 3 to 4 tablespoons of extra virgin olive oil into your pan. This feels like too much. It's not. Tilt the pan to coat the bottom completely and brush oil up the sides with your fingers or a pastry brush.
This oil serves three purposes: it prevents sticking, it fries the bottom of the dough during baking to create a crispy golden crust, and it contributes a significant amount of flavor. Use decent olive oil here - something with some fruitiness to it. You'll taste it in the final product. Avocado oil works as a substitute if you prefer it or have an allergy, and it handles high heat better, but olive oil is doing real flavor work in focaccia - it's a primary ingredient, not just a cooking medium.
Step 2: First Press
Place your dough ball in the center of the oiled pan. Flip it once so both sides are coated. Using flat fingers (not your knuckles, which can tear the dough), gently press and push the dough toward the edges of the pan.
The dough will resist. It will spring back toward the center. This is normal - it's gluten tension doing exactly what gluten tension does. Don't fight it. Press gently for 20-30 seconds, establishing the general rectangular shape, then stop.
If the dough is extremely elastic and won't hold any shape at all, it probably needs more time to relax. Cover it and walk away for 15-20 minutes, then try again. Cold dough straight from the fridge will be especially resistant. Letting it warm up for 30-45 minutes before this step makes everything easier.
Step 3: The Second Rise (This Is the Whole Game)
Cover the pan with plastic wrap, a damp towel, or an inverted sheet pan. Place it somewhere warm and draft-free - on top of your stove while the oven is off, on a counter away from AC vents, wherever your kitchen holds steady warmth.
Now you wait, and this is where most people mess up by not waiting long enough. You're looking for the dough to:
- Fill the pan corner to corner (or close to it)
- Roughly double in height
- Look puffy and slightly jiggly when you nudge the pan
- Show small bubbles forming on the surface
This takes 2 to 4 hours at typical room temperature (around 70-75°F). In a warm kitchen it might be closer to 90 minutes. In a cool kitchen it could take longer. The dough tells you when it's ready, not the clock.
Do not skip or shorten this rise. This is where the air gets trapped inside the dough that creates the focaccia's signature light, spongy texture. If you bake it too early, you'll get something closer to a dense pan pizza crust. Patience here is the single biggest factor separating good pizza dough focaccia from mediocre pizza dough focaccia.
If the dough still hasn't fully spread to the edges after an hour of rising, you can do a second gentle press - oil your fingers, carefully push the dough outward, then re-cover and continue the rise.
Step 4: Preheat the Oven
About 30 minutes before you think the dough will be ready, preheat your oven to 425°F (220°C).
This is hotter than many dedicated focaccia recipes call for, and that's intentional. Pizza dough is typically lower hydration and denser than focaccia dough, so it benefits from a stronger initial heat to get good oven spring and set the structure before the crust over-browns. If you're working with a particularly wet dough (70%+ hydration), you can drop to 400°F.
If you have a baking stone or steel, place it on a lower rack. You can set the focaccia pan directly on the hot stone for an even crispier bottom.
Step 5: Dimple
This is the signature focaccia move, and you need to commit to it.
Drizzle 2 more tablespoons of olive oil over the surface of the risen dough. Coat all ten fingertips in oil. Then press straight down into the dough - deep, almost touching the pan bottom - and repeat across the entire surface. You're creating wells and valleys across the dough that will trap pools of olive oil during baking.
Common mistakes here: being too gentle (the dimples should be deep and dramatic, not polite little pokes) and dimpling unevenly (work systematically from one end to the other so the whole surface gets covered). The dough will deflate slightly during this process. That's expected. It'll spring back in the oven.
Step 6: Top It (Two Paths from Here)
This is where the method forks. Everything up to this point is identical whether you're making focaccia bread or focaccia-style pizza. The dimpled, oil-slicked dough is a blank canvas, and what you put on it determines which direction you go.
Path A: Focaccia-Style Pizza
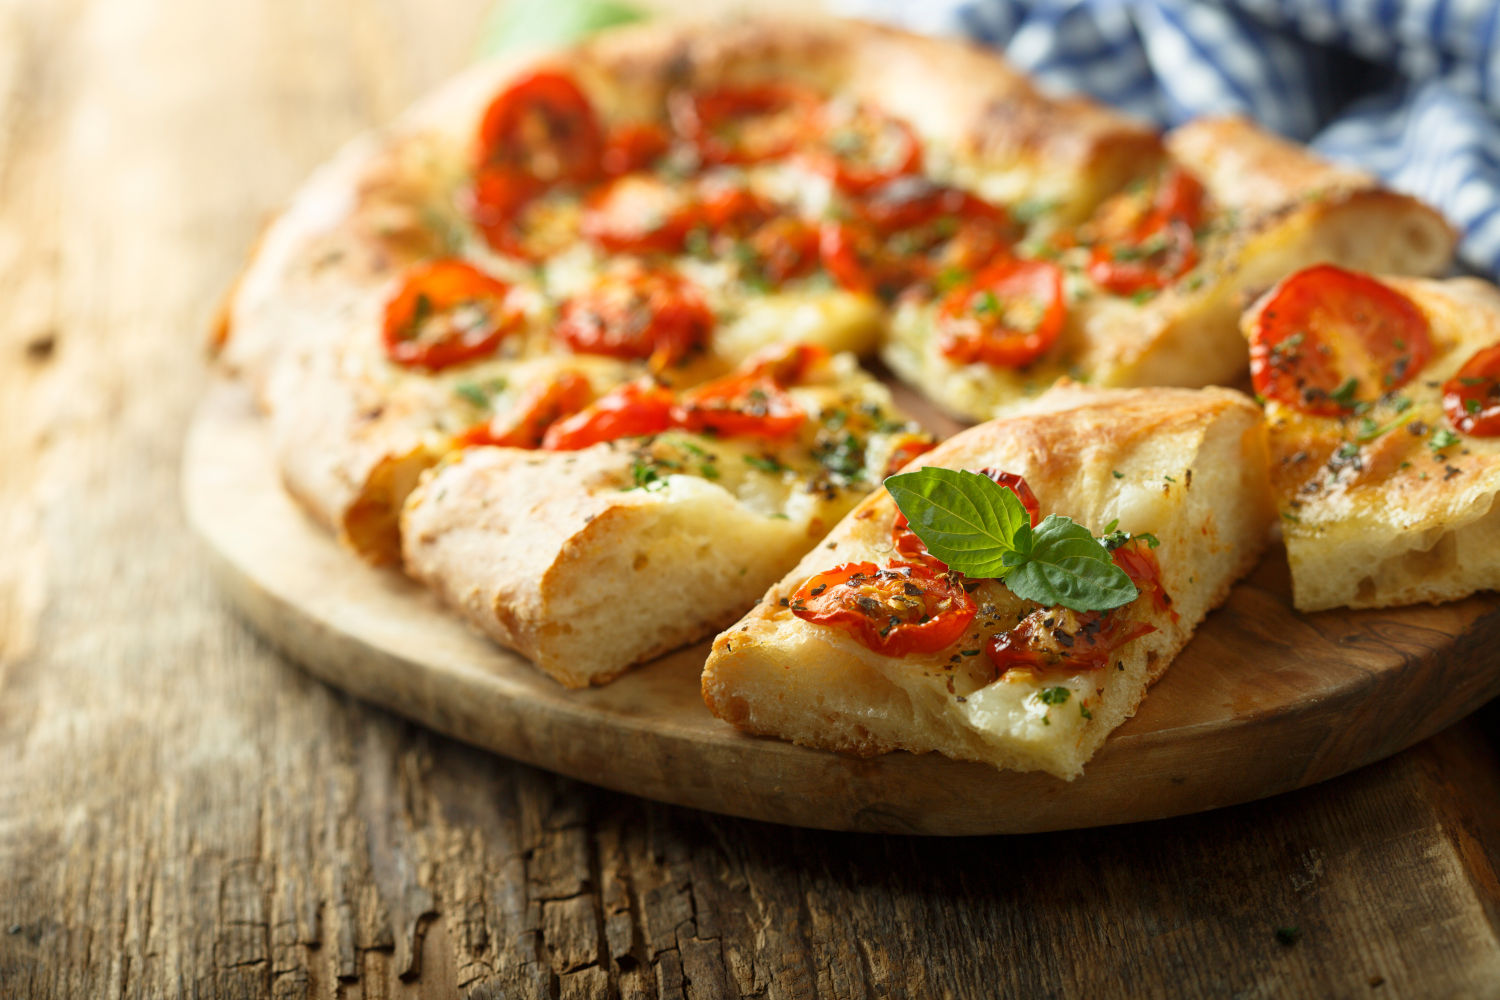
If you're going the pizza route, the dimpled surface is what sets this apart from regular pan pizza. Those oil-filled wells crisp up around the edges of the sauce and cheese, creating a texture you can't get any other way. It's not Detroit-style, not Sicilian - it's its own thing, lighter and airier than either.
Par-bake first. This is the key move. Before adding any toppings, bake the dimpled, oiled dough at 425°F (220°C) for 8-10 minutes until the surface is just set and starting to turn lightly golden. This gives the crust a head start so it doesn't turn soggy under sauce and cheese. Pull it out, add your toppings, then return it to the oven to finish. If you skip this step, the moisture from the sauce can saturate the crumb before it has a chance to set, and you end up with a soft, undercooked layer right under the toppings.
Sauce. Spoon pizza sauce onto the par-baked surface - don't ladle it on. You want a thin, strategic layer, not a pool. The dimples will hold little pockets of sauce that concentrate during baking. Less is more here. If you drown the surface, you weigh down the rise and end up with a soggy center.
Cheese. Scatter shredded low-moisture mozzarella across the surface. Again, restrained. You're not loading a New York slice. A moderate, even layer with some dough still visible underneath is the target. Provolone, fontina, or a mix works well too. Some people like to tuck small cubes of fresh mozzarella into a few of the dimples - these melt into creamy pools during baking.
Toppings. Anything you'd put on pizza works, but keep it sparse and think about weight. Pepperoni, thinly sliced onions, roasted peppers, olives, sausage crumbles - all good. Avoid anything too wet (fresh tomato slices will make things soggy) or too heavy (piling on multiple dense toppings defeats the airy crust you worked to build).
Baking adjustments for pizza. After topping, return the pan to the oven and bump the temperature to 450°F (230°C). Start checking at 10-12 minutes since the crust already has a head start from the par-bake. The cheese should be melted and spotty brown, and the bottom should be deeply browned and crispy when you peek under with a spatula. If the bottom is done but the cheese needs more color, hit it with the broiler for 60-90 seconds - but watch it constantly, because this goes from perfect to scorched fast.
If you're building this on a sourdough pizza dough base, you're making what amounts to a sourdough focaccia pizza - and the tangy crumb underneath melted cheese and roasted tomato is one of my favorite things to come out of an oven. The sourdough version also reheats better the next day since the natural acids keep the crumb from going stale as fast.
Path B: Focaccia Bread Toppings
For straight focaccia, immediately after dimpling, add your toppings and hit it with a generous pinch of flaky sea salt (Maldon or similar). Here are combinations that work particularly well on a pizza dough base, which tends to be sturdier than traditional focaccia and can handle slightly more substantial toppings.
Classic Rosemary and Sea Salt. The default for good reason. Fresh rosemary sprigs (not dried - they'll burn), flaky salt, and maybe 4-5 thin garlic slices pressed into the dimples. Simple and basically perfect.
Cherry Tomato and Herb. Halve cherry tomatoes and press them cut-side-up into the dimples. They'll roast in the oil and concentrate in flavor. Add fresh thyme or oregano and a shower of flaky salt.
Olive and Red Onion. Thinly sliced red onion rings scattered across the surface with halved kalamata or castelvetrano olives pressed into the wells. A drizzle of good balsamic after baking takes this one over the top.
Potato and Rosemary. Thinly slice small potatoes (a mandoline helps) and shingle them across the surface, pressing gently into the dough. Drizzle with olive oil, scatter with rosemary, and hit with salt. This is a classic Ligurian combination and it's absurdly good.
Grape and Rosemary. Halved red grapes pressed into the dimples alongside rosemary. Sounds strange, tastes incredible. The grapes burst and caramelize during baking, creating pockets of jammy sweetness against the salty, herby bread.
Everything Bagel. Skip the olive oil drizzle on top and instead brush with a mix of olive oil and a tiny bit of melted butter, then coat heavily with everything bagel seasoning. 100% snackable.
Baking for focaccia bread. Keep the oven at 425°F (220°C) and bake for 20 to 28 minutes. You're looking for deep golden-brown color across the entire top, edges pulling slightly away from the pan sides, and visible browning where oil has pooled. If the top is browning too quickly but the center still feels soft, tent loosely with foil for the last 5-7 minutes.
After the Bake (Both Paths)
Pull the pan from the oven and drizzle a final thin layer of olive oil over the hot surface. Even if you used a different oil in the pan, finish with extra virgin here - this is the layer you taste most directly. Let it sit in the pan for about 5 minutes, then transfer to a wire cooling rack.
This transfer matters. If you leave it in the pan, steam gets trapped underneath and softens the crispy bottom you worked to build. A wire rack lets air circulate under the bread and preserves the texture.
Wait at least 15 minutes before cutting. The interior crumb is still setting during this time - cutting too early releases steam and can leave you with a gummy center. A serrated knife works best. Cut into rectangles, squares, or whatever geometry makes you happy.
For the pizza version, I'd eat it within the first 30 minutes - it's best when the cheese is still slightly molten. The focaccia bread version is more flexible and honestly improves slightly after about 20 minutes of cooling, when the crumb has fully set but the bread is still warm.
Using Sourdough Pizza Dough for Focaccia
If you bake with a sourdough starter and have leftover sourdough pizza dough, making focaccia from it is arguably the single best use for that extra dough - whether you go the bread route or the pizza route.
Sourdough brings a few specific advantages to focaccia. The organic acids produced during fermentation create a more complex flavor profile - a mild tanginess that pairs exceptionally well with olive oil and salt. The longer fermentation typical of sourdough also develops more extensible gluten, which means the dough spreads into the pan more willingly with less snapback. And sourdough focaccia has noticeably better keeping quality than commercial yeast versions. It stays soft and fresh for a solid day longer.
The one thing to watch is fermentation timing. Sourdough is slower and less predictable than commercial yeast, especially if your starter isn't at peak activity. The second rise in the pan may take 3-5 hours rather than 2-4. Judge by the dough's appearance, not the clock.
If you're mixing dough specifically for focaccia or focaccia-style pizza rather than repurposing leftovers, push the hydration up to 70-75%. This gives you more of that open, bubbly crumb structure that's closer to traditional focaccia. The PizzaLogic calculator can help you dial in the ratios.
What to Do with Leftover Pizza Dough (The Focaccia Move)
If you've landed on this page because you made too much pizza dough and you're looking for ideas, focaccia is far and away the best option for using it up. It's better than trying to make garlic knots or breadsticks (which require specific dough handling to turn out well) and better than just tossing extra dough balls in the freezer for "someday."
If you regularly find yourself with extra dough after pizza night, here's a useful habit: whenever you mix a batch, intentionally portion off a 350-450g ball specifically for focaccia the next day. Cold ferment it overnight in the fridge along with your pizza dough, then pull it out the following morning, let it come to room temperature for an hour, and start the focaccia process. You get pizza for dinner and fresh focaccia bread for lunch the next day.
For more ideas on using extra dough, there's a broader roundup at what to do with leftover pizza dough.
Adjustments if You're Using Store-Bought Dough
Store-bought pizza dough from the refrigerated section of a grocery store (like Trader Joe's, Pillsbury, or the generic deli counter balls at your supermarket) will make decent focaccia with a few accommodations.
Give it extra rise time. Store-bought dough is typically packaged shortly after mixing with minimal fermentation. It needs more time to develop flavor and gas. Plan on the longer end of the rise window - 3 to 4 hours minimum, possibly longer.
Warm it up before pressing. These doughs are cold and tight. Let the dough sit at room temperature for at least 45 minutes to an hour before you try pressing it into the pan, or you'll spend the entire time fighting elastic snapback.
Add a little extra oil. Store-bought dough is often lean (no oil in the formula). Be even more generous with the pan oil and surface oil to compensate. This adds flavor that the dough itself might be lacking.
Season aggressively. Because the dough itself may not have much flavor depth from fermentation, lean harder into your toppings and seasoning. More garlic, more herbs, more salt than you'd use with a well-fermented homemade dough.
The results won't match what you'd get from a 48-hour cold-fermented homemade dough, but they'll still be noticeably better than anything you'd buy pre-made from a bakery shelf.
Troubleshooting
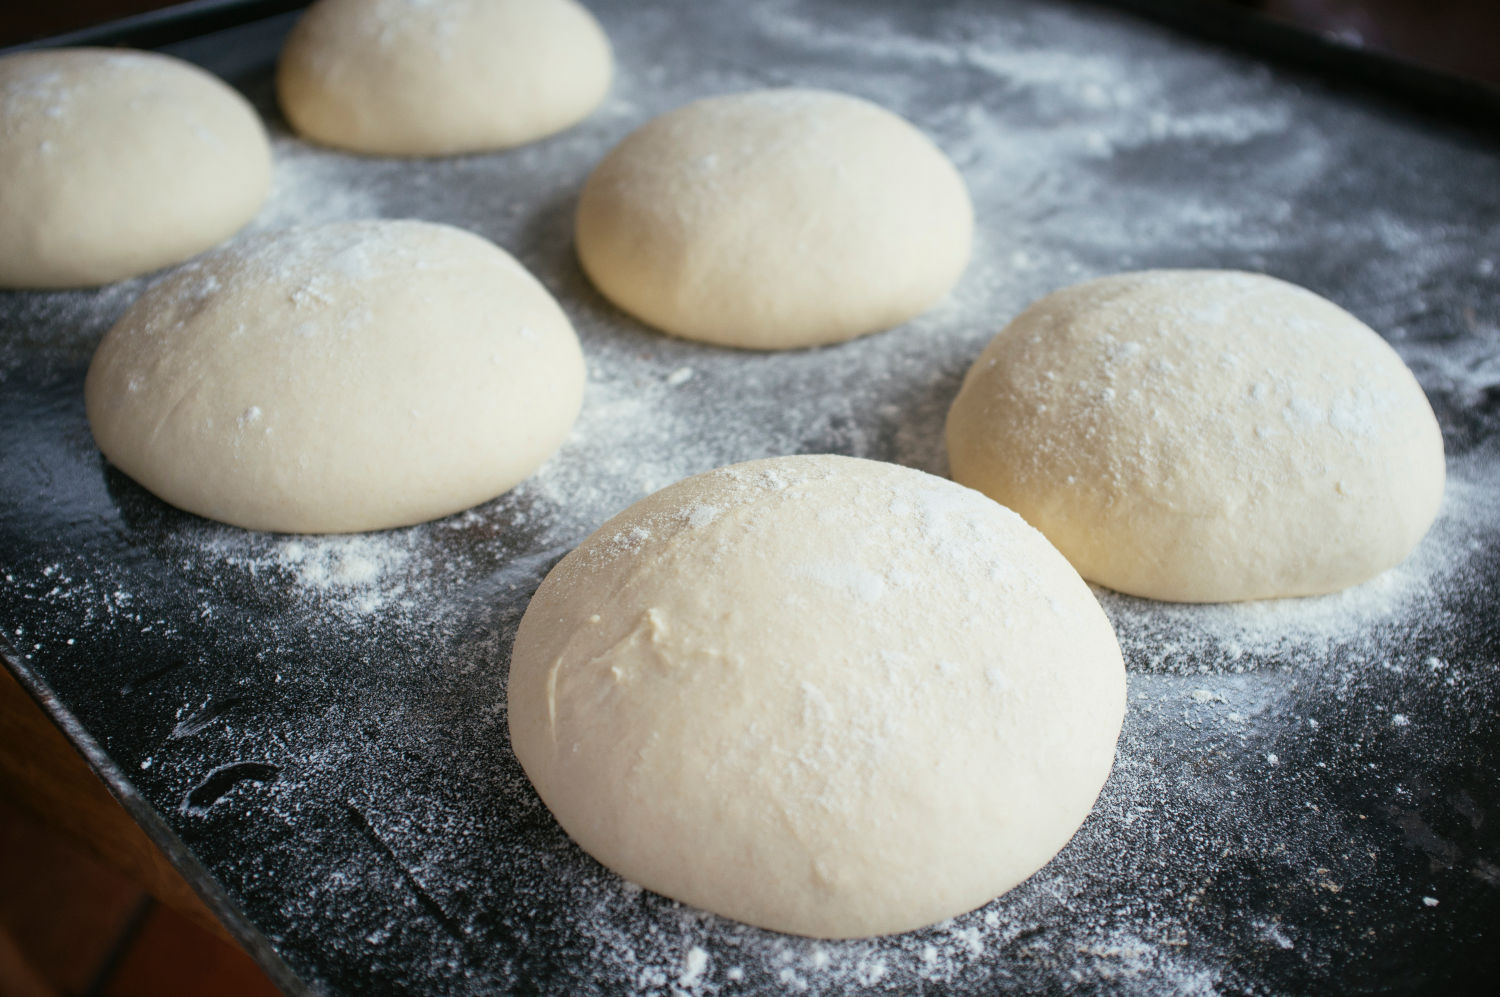
The dough won't spread to the edges of the pan. Either the gluten is too tight (let it rest longer between presses - or if you're mixing a fresh batch specifically for focaccia, autolysing the flour and water before kneading builds a more extensible gluten structure that spreads more willingly into the pan) or the dough ball is too small for the pan. A 350g dough ball is about the minimum for a 9x13 pan. If you're below that, use a smaller pan or accept thicker focaccia with edges that don't reach the corners.
The focaccia is dense and doesn't have good air pockets. The second rise wasn't long enough. This is the most common issue. Next time, let it go another 30-60 minutes past when you think it looks ready.
The bottom is soggy. Either the oven wasn't hot enough, the pan wasn't oiled sufficiently (the oil is what fries the bottom), or you didn't transfer to a wire rack promptly after baking. All three factors matter.
The top browned but the middle is underdone. The oven was too hot or the dough was too thick. For thicker focaccia, drop the temperature to 400°F and extend the bake time. Tenting with foil after the top browns helps the center finish without over-browning the surface.
The dimples disappeared during baking. Either the dimples weren't deep enough (push harder next time - almost to the pan bottom) or the final rise before baking went too long and the dough over-proofed, losing its ability to hold structure. Dimple and get it into the oven within 5-10 minutes.
The dough tore when I tried to press it. The dough was either under-hydrated, over-worked, or too cold. Cold dough tears easily. Let it come fully to room temperature and use oiled hands to reduce friction. If it's still tearing, the dough may just be on the dry side - it'll still work, but handle it more gently and accept that it might not fill the pan completely.
Storage and Reheating
Focaccia made from pizza dough keeps well at room temperature for about a day, wrapped loosely in foil or placed cut-side-down on a cutting board. The olive oil content helps it stay soft longer than a lean bread would.
For longer storage, wrap tightly in plastic wrap and then foil, and freeze for up to 2 months. Thaw at room temperature.
To reheat, place directly on the oven rack or a sheet pan at 375°F for 6-8 minutes. The goal is to re-crisp the exterior without drying out the crumb. Microwaving works in a pinch but will soften the crust, which defeats the purpose.
Already-cut slices reheat best in a skillet over medium heat with a tiny bit of olive oil, about 2 minutes per side. This re-crisps the surfaces and warms the center without making it tough.
Final Thoughts
Making focaccia from pizza dough - or a focaccia-style pizza from that same dough - is one of those kitchen techniques that's simpler than it sounds and better than it has any right to be. The dough you already know how to make, or the leftover ball sitting in your fridge, becomes something with a completely different character just by changing how you shape, rise, and bake it. And once you've done the rise and dimple, you're one decision away from either a great bread or a great pizza.
If you want to get specific about your dough formulation, especially if you're mixing a batch intentionally for this, the PizzaLogic dough calculator can help you dial in hydration, yeast, and salt levels precisely. Try pushing hydration to 70-72% with 2-3% olive oil in the dough for a result that splits the difference between pizza and focaccia in the best way.